

 中文简体
中文简体 English
 Français
 عربى
عربى +86-15988502726(wechat)
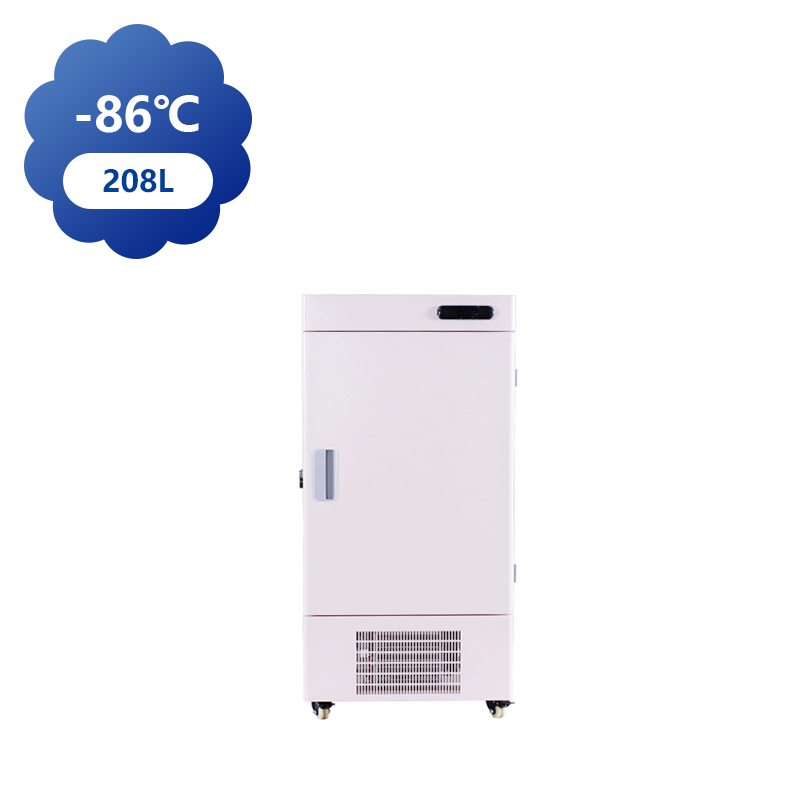


You can contact to me using this form.
When researchers or lab managers initial face a minus 80 freezer, one of the more common questions is: “When is it safe to start storing samples?” Zhejiang Heli Refrigeration Equipment Co., Ltd. often advises that timing and preparation are crucial to protect valuable samples and maintain the freezer’s performance. Understanding the proper storage window helps avoid equipment stress and temperature instability.
Understanding Freezer Readiness
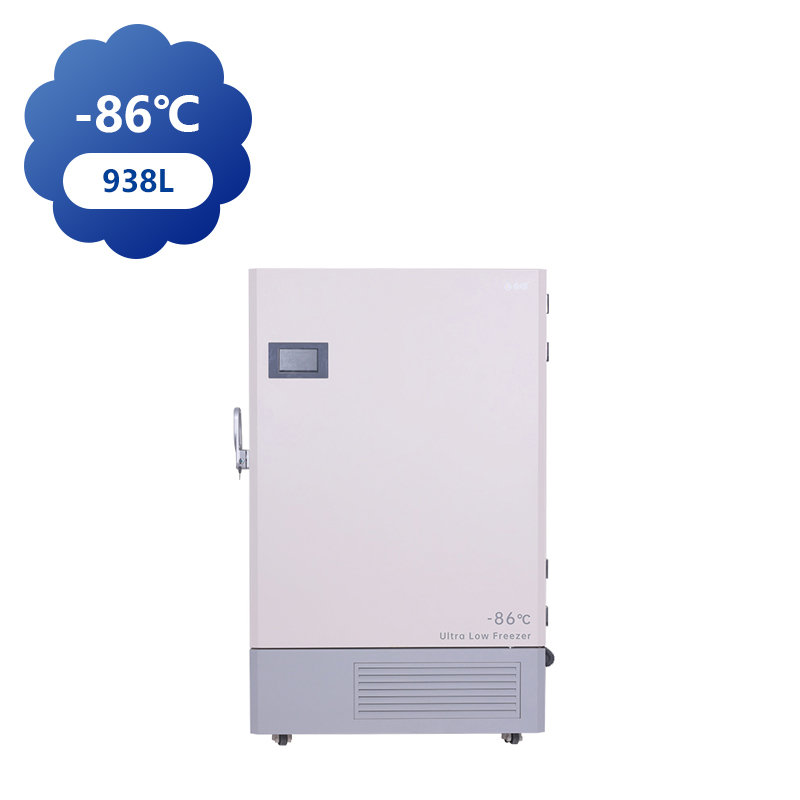
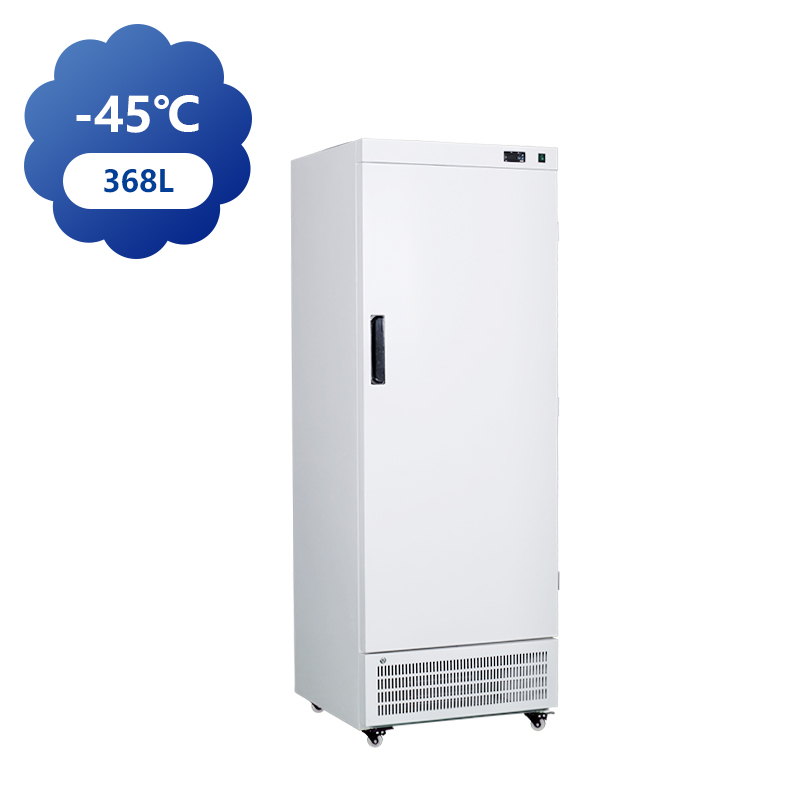
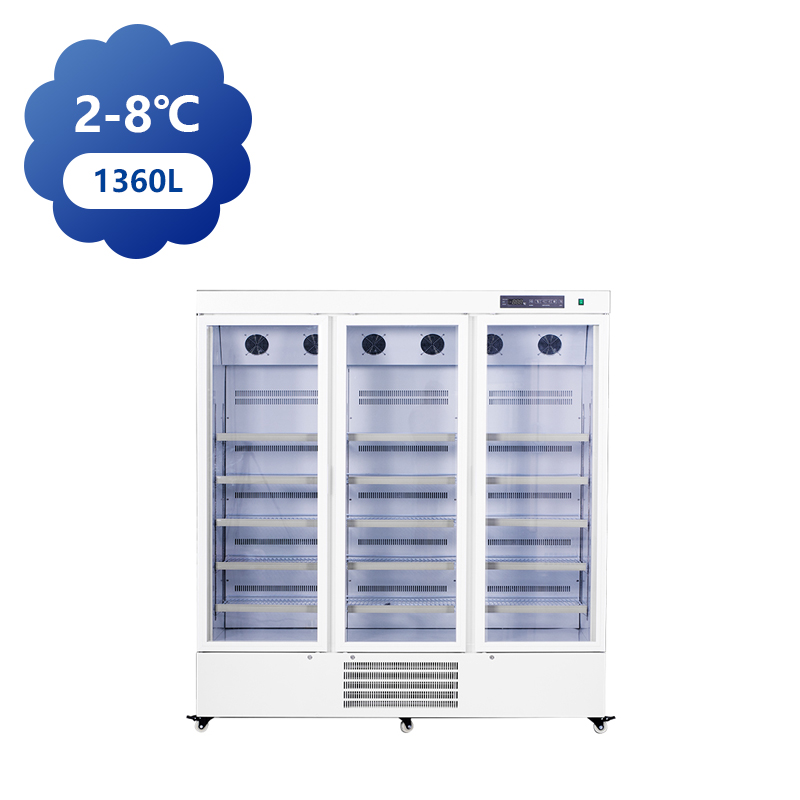
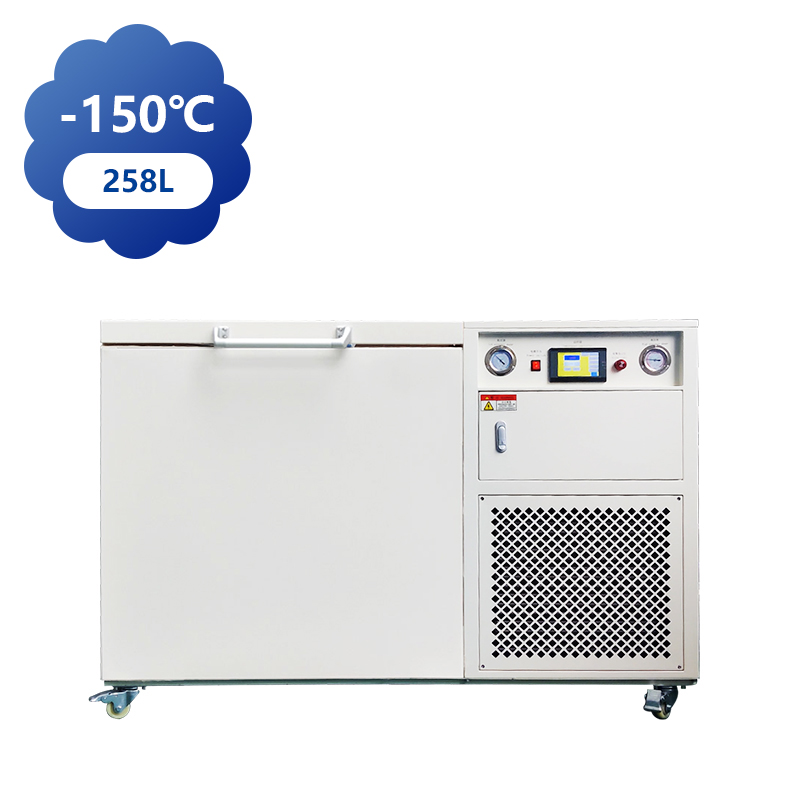
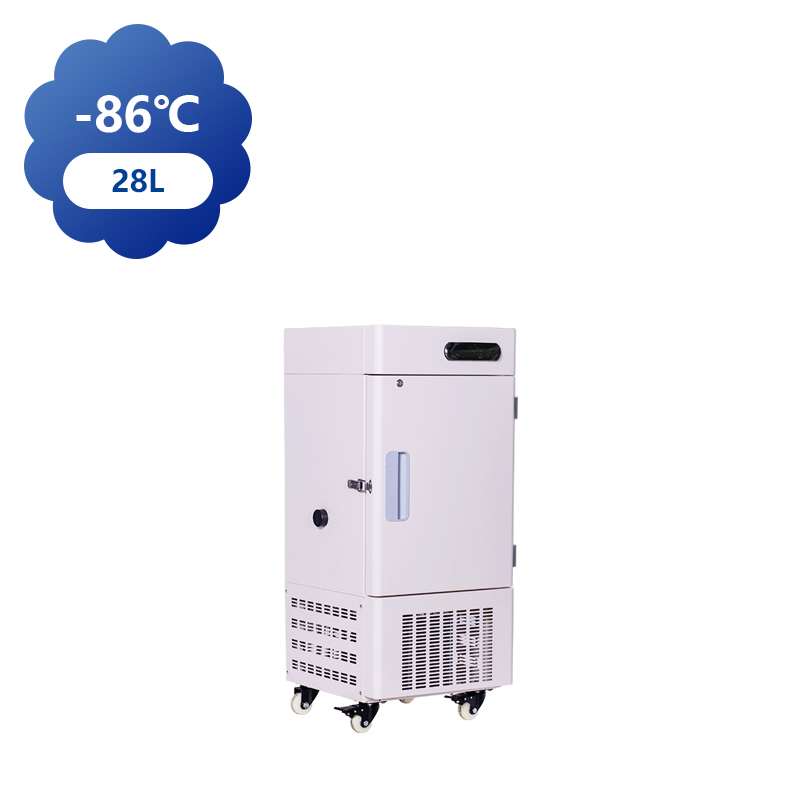
Every ultra-low temperature freezer has a startup period during which the cooling system stabilizes. For minus 80 freezers, it is important to allow the unit to reach its set temperature fully before adding any items. Similarly, low temperature chest freezers require gradual cooling, especially if large or dense samples are to be stored. Skipping this step can temporarily raise internal temperatures, placing stress on compressors and potentially damaging stored materials.

- Step 1: Monitor the Internal Temperature
Before storing samples, check the internal digital display or external temperature probe. Only when the freezer consistently maintains the desired temperature—around -80°C for minus 80 freezers—should samples be introduced. For low temperature chest freezers, reaching the recommended low temperature is equally important. Temperature fluctuations can compromise biological samples, reagents, or sensitive chemicals.
- Step 2: Plan Sample Placement
After confirming the freezer has stabilized, consider how samples will be arranged. Avoid stacking too many items directly against walls or blocking airflow. Low temperature chest freezers typically have wide storage compartments, so using racks or labeled containers can help distribute thermal load evenly. This ensures that cold air circulates freely, reducing localized warming and maintaining uniform ultra-low temperatures.
- Step 3: Introduce Samples Gradually
Instead of filling the freezer to capacity immediately, add samples in stages. Introduce a smaller batch initial and monitor how the freezer responds. Once temperatures remain stable, additional items can be added. This step is especially critical for minus 80 freezers, where even a small spike in temperature can affect sensitive biological material.
- Step 4: Minimize Door Openings
Frequent or prolonged door openings can disrupt the internal environment. Encourage team members to plan sample retrieval efficiently, open the door only when necessary, and close it promptly. Some modern freezers feature compartmentalized lids that reduce the amount of cold air lost, enhancing the stability of both minus 80 freezers and low temperature chest freezers.
- Step 5: Continuous Monitoring
Even after samples are stored, maintaining a record of temperature fluctuations is recommended. Alarm systems or external loggers can alert users to deviations before they cause damage. Zhejiang Heli Refrigeration Equipment Co., Ltd. offers guidance on integrating monitoring systems to ensure reliable ultra-low temperature storage for research labs, cold chain facilities, or biomedical storage.
Practical Takeaways
Never load samples before the freezer reaches the set temperature.
Organize items to promote airflow and avoid overloading.
Introduce samples gradually to prevent thermal spikes.
Minimize door openings to maintain consistent temperatures.
Monitor temperature continuously for long-term safety.
Knowing when to store samples in a low temperature chest freezer or minus 80 freezer can make a significant difference in sample preservation and equipment longevity. By following proper timing, thoughtful placement, and continuous monitoring, laboratories and research facilities can maintain safe, stable ultra-low temperature conditions. With expertise from Zhejiang Heli Refrigeration Equipment Co., Ltd., users can optimize storage processes and protect valuable materials efficiently.
